Making a House, a Home
Kevin and I have moved a lot over the last few years – well to be honest, we’ve both moved a lot our whole lives. Kevin hasn’t lived in the same place for more than 2.5 years… ever.
One of the things that helps me feel settled into a new home, though, is to decorate. And I mean, nailing a ton holes into the wall like we’re never leaving, decorating. Our landlords love me. Just kidding – I’ve never had any issue with getting crap for that (except once, which I’ll talk about later). Plus, I’m a photographer, a creative, and and art lover so naturally I have a lot of pieces I like to have up on the walls. I love seeing our variety of graphic prints, photos from vacations, our wedding, etc., mirrors and art pieces hung in plain sight. It makes the blank, barren walls feel cozy and ours. I’ve loved switching up the combinations of pieces apartment after apartment, and finding new arrangements that fit our new space. I’ve developed some tips and tricks along the way and wanted to share them with you here!
Plus, keep scrolling to learn my biggest tip 😉
Above image from Shay Cochrane
Gallery Wall 101
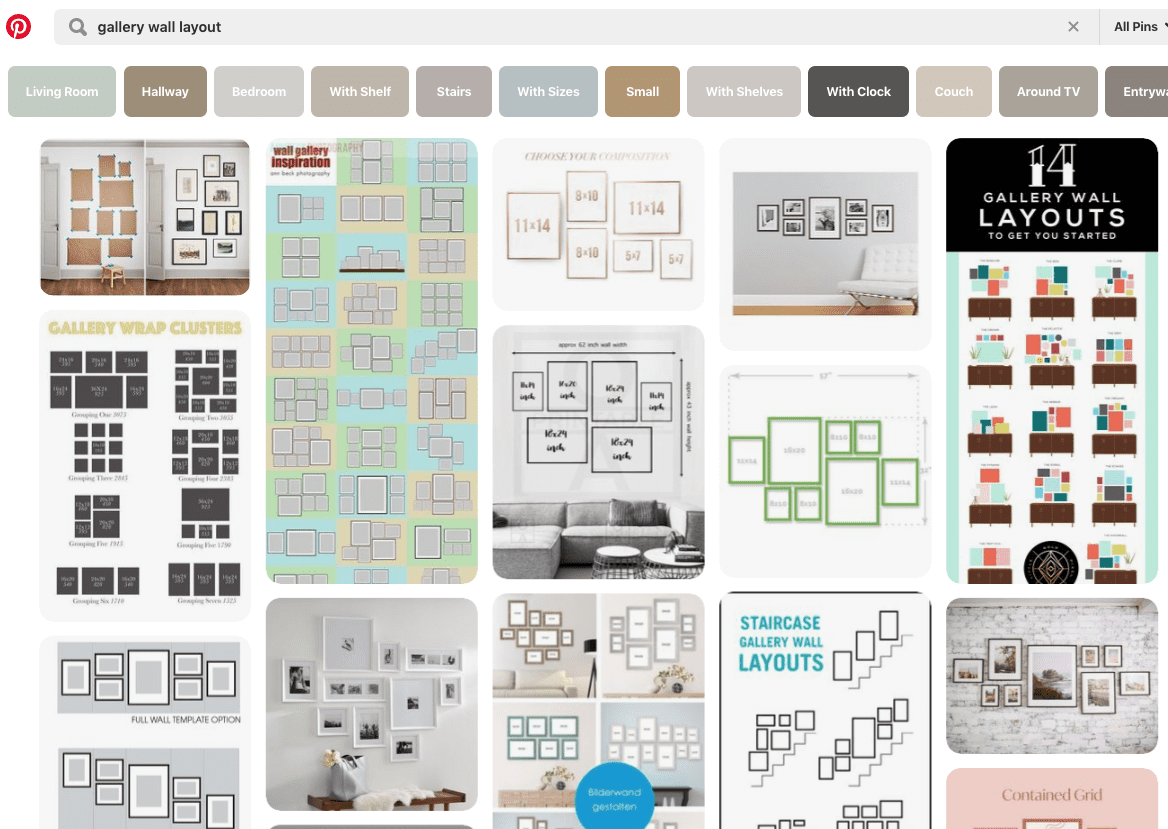
I love seeing my clients display the photos we take together in their home. I am a huge proponent of showcasing your photos (check on this post for my favorite ways to print your photos) because it helps you enjoy them more often! A quick search on Pinterest will give you TONS of inspiration for creating a gallery wall.
One of my favorite ways to create a polished gallery wall is to use a wide white mat & frame. By creating a consistent size and style, the photos can stand together, even if they weren’t taken on the same day, or even by a professional photographer. A wide mat instantly gives the feel of fine art. If you want to make your display even more seamless, you could use black & white images creating a matching color scheme. Both are great ways to integrate both professional and more casual images.
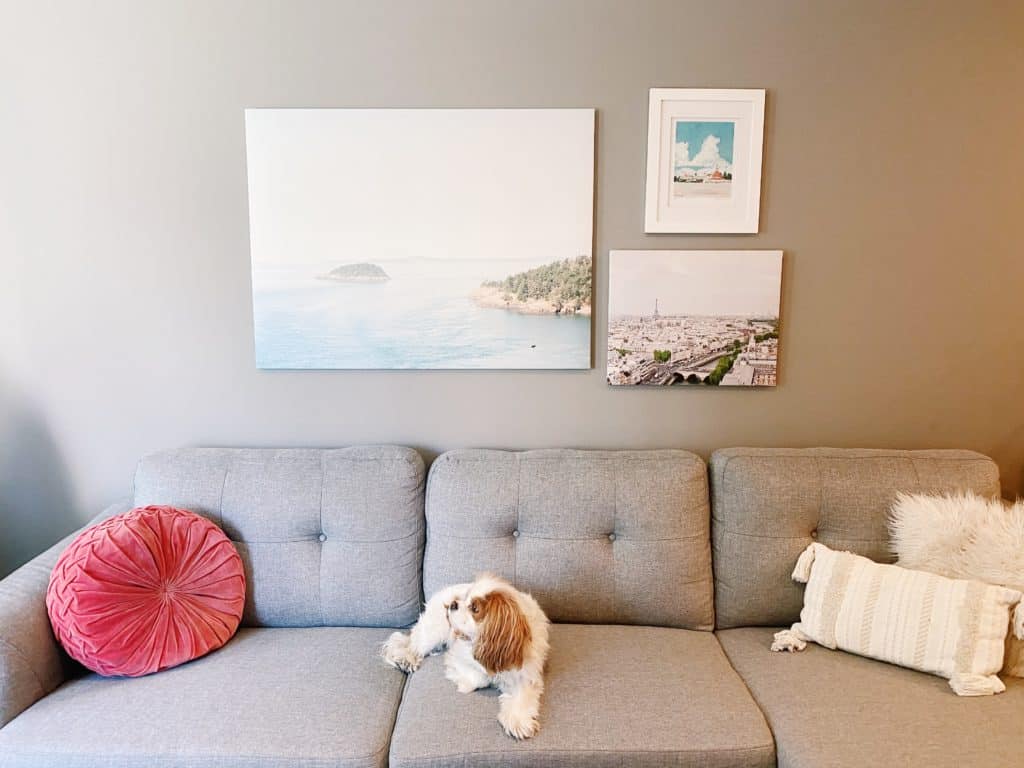
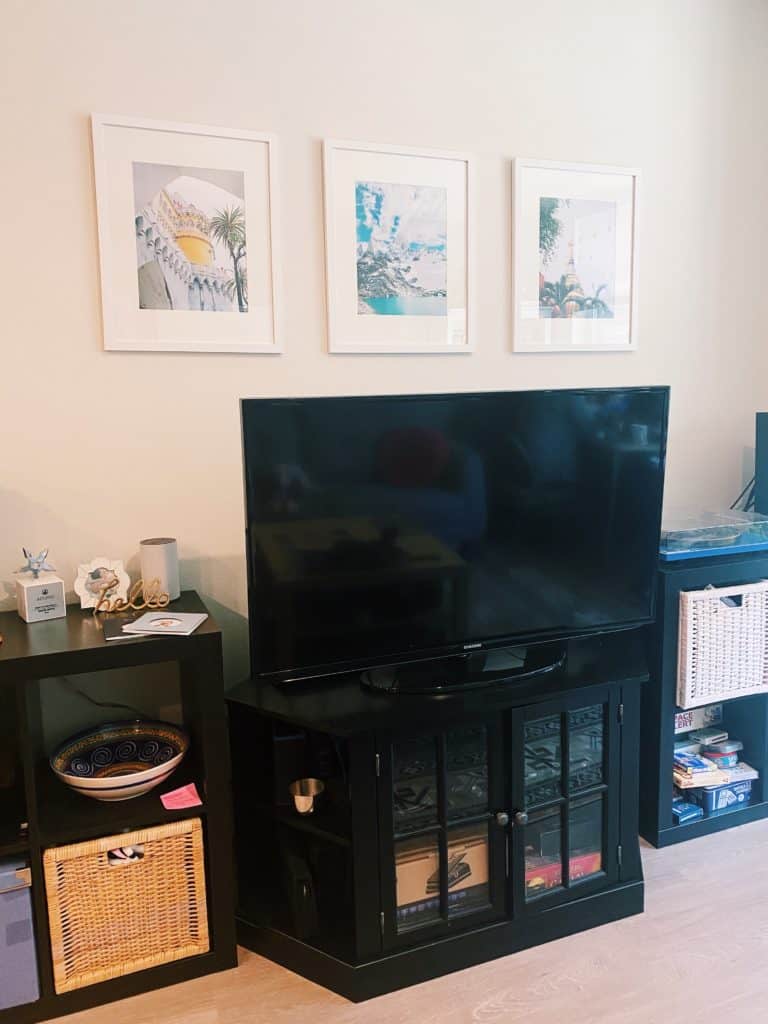
These frames from Amazon (pictured below) are a great inexpensive option and take 8×10 images which is a cheap, standard size you can get printed anywhere. I chose three images from three of our favorite vacations that were similar in feel – bright and white with pops of color. From left to right: Sintra, Portugal, Fitz Roy, Argentina and Chaing Mai, Thailand! Kevin and I love looking at this series (which one day I will expand with more rows!) and reminiscing about our trips together.
For a more custom look, my go-to is Framebridge – I love how you can see how the photos will look in the mat/frame/size combo you choose virtually!
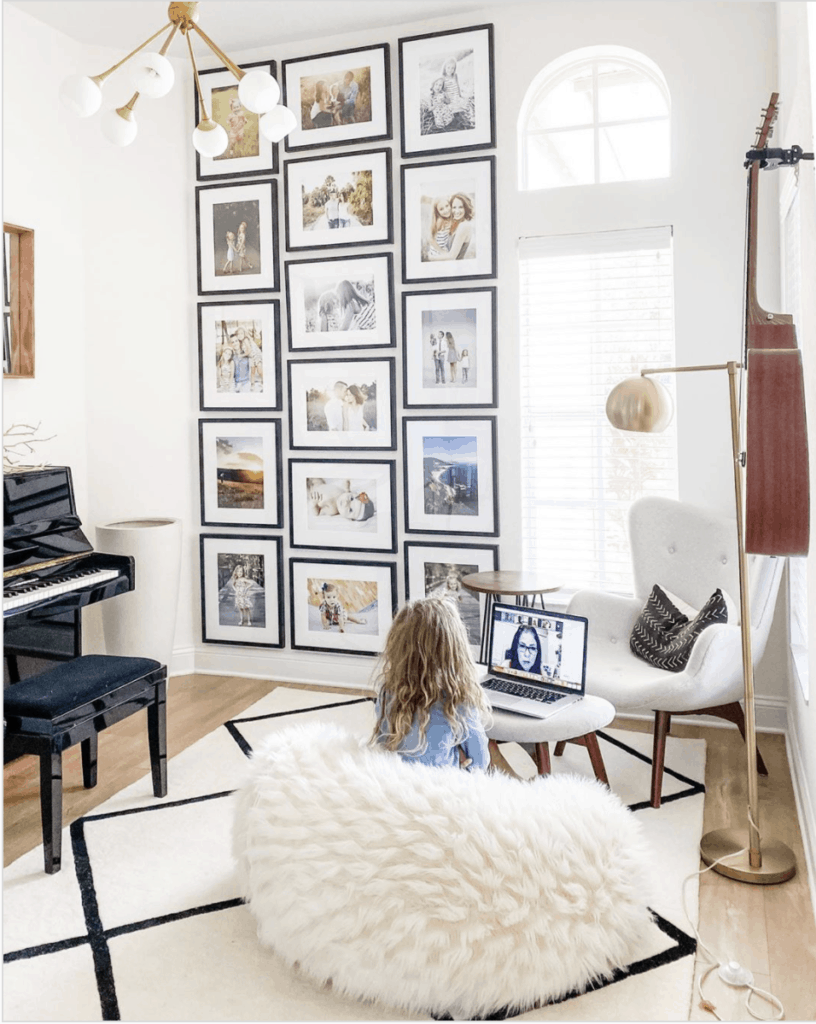
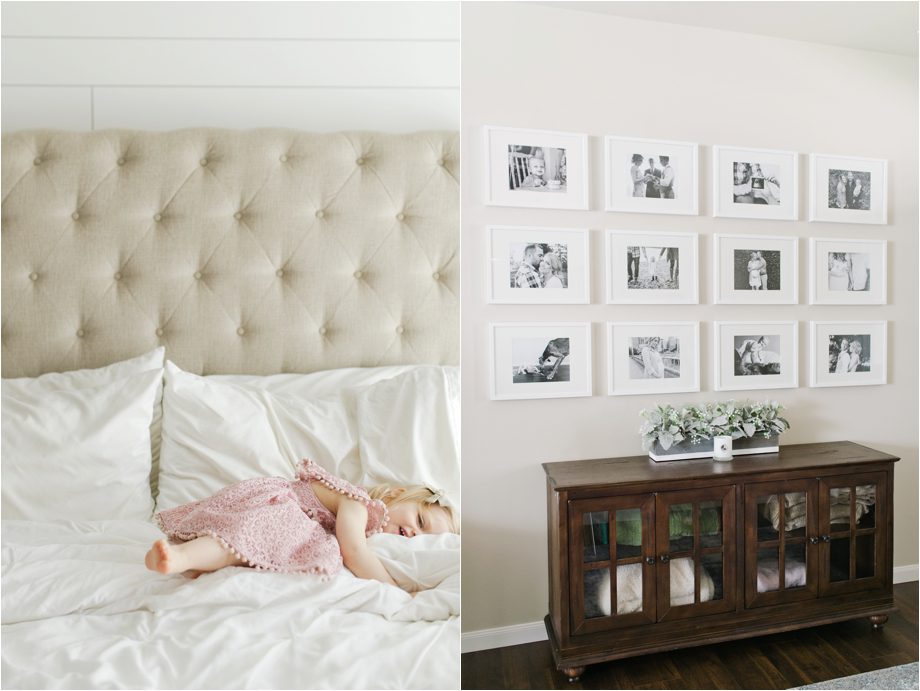
Below: I have photographed the Kish Family for years and I loved seeing them combine photos from all of our sessions in one spot. They chose to use black and white images to ensure a cohesive look!
Mixing Texture
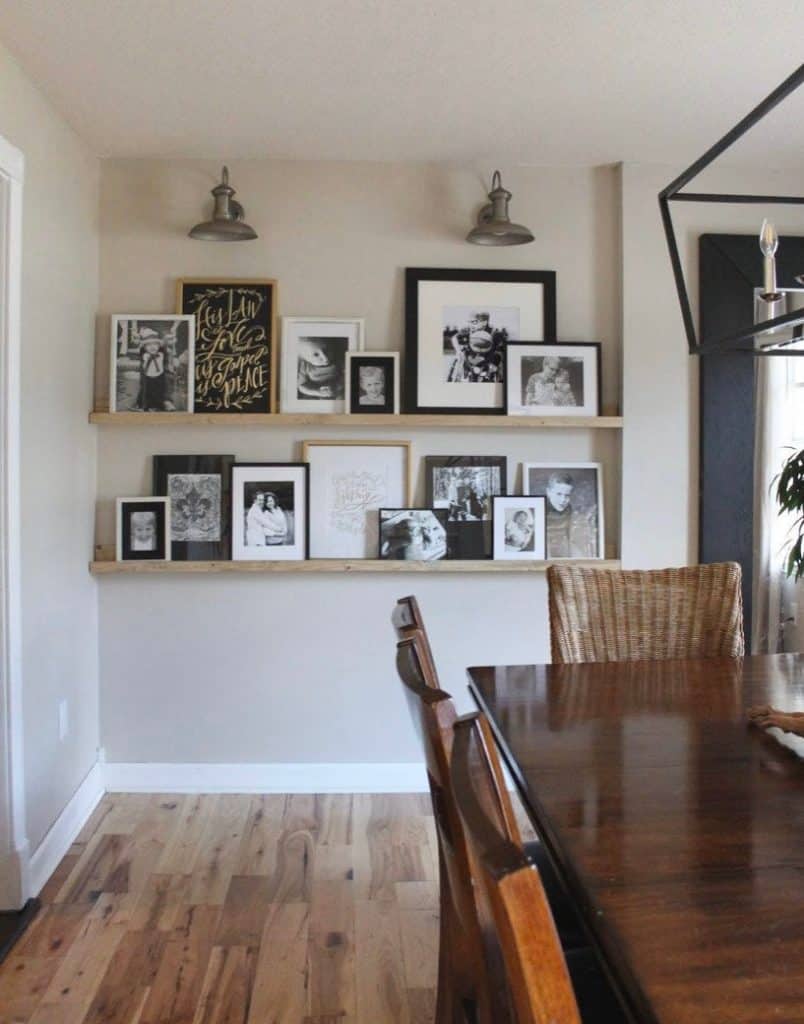
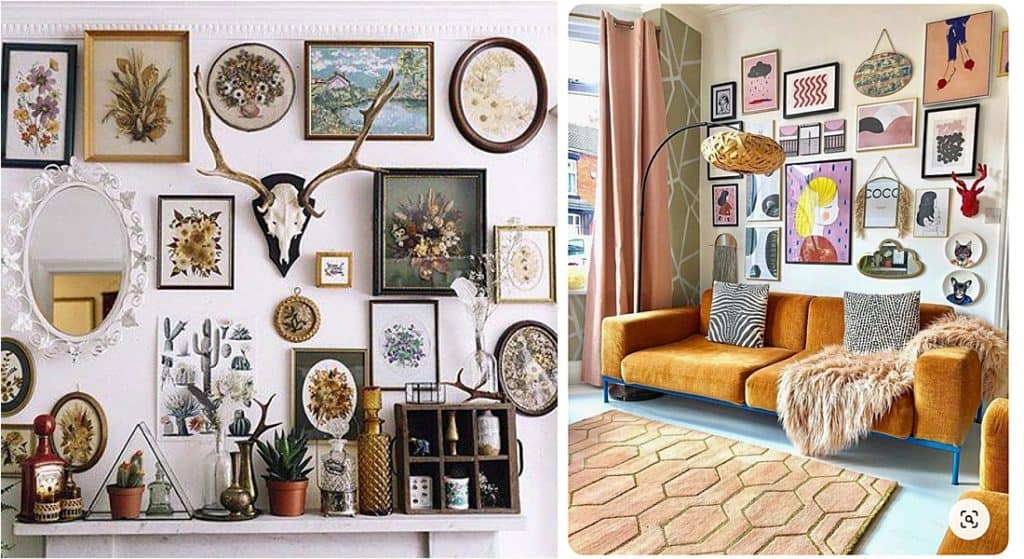
Another strategy you can use when creating a gallery wall is mixing in texture. This is a great option if you want to include pictures/art of different mediums, and create more depth and interest on your walls. Different textures could include photos printed on different materials like canvas, variety in frames (both size, shape, color and texture), placing items on a ledge, and incorporating other mediums like mirrors, graphic prints, weavings, baskets, wherever your imagination takes you! When playing with texture, I suggest using a similar color scheme or vibe as a guidepost for your collection. This is about what makes you happy though, so don’t be afraid to be playful! It’s always fun to include something 3D to make the display really POP!
Images from Pinterest
My Biggest Tip
Now I gotta let y’all in on a little secret – I don’t know where I read about it first, probably Pinterest or HGTV, but it has been a game changer.
I call it the Toothpaste trick. It can be hard to know where to put the nail in the wall – especially if the piece you’re hanging has a funky mount – i.e. multiple nail supports, a wire, etc. You simply put a dab of toothpaste on the back of the frame wherever the nail needs to go, and press it against the wall leaving a little dab, right where you need to hammer. This has saved me so much time measuring and calculating! When building a more involved (less grid-like) gallery wall, I would start with the main focal/center piece and work my way out from there, dotting toothpaste along the way. While it may not be scientific, per-say, it has helped me decorate much more quickly!
I’ve also seen tips for using kraft paper and painters tape to mark out the spacing, etc. which is a great option. Measure twice, cut once, right?
PS: Remember earlier how I said I got in trouble once? Well it was because I hadn’t wiped off the toothpaste from the wall and our landlord called me concerned after we moved out asking what this “mysterious white substance” on the wall was. It’s toothpaste.
Well friends, I hope this inspires you to create a gallery wall in your home, or even spruce up one you already have! Remember, the most important thing is to HAVE FUN!